
Selling your own home means doing the job a listing agent normally does, and the part that shows up first is the photography. Buyers meet your house as a thumbnail in a search results grid, next to houses that were shot by a professional. That is the comparison your photos have to survive. This guide covers what to shoot, how to shoot it with a phone, when virtual staging helps, and what you have to disclose.
What the numbers actually say about selling it yourself
For-sale-by-owner sales hit a record low in NAR's 2025 Profile of Home Buyers and Sellers, at 5% of transactions. The same report puts the FSBO median sale price at $360,000 against $425,000 for agent-assisted sales.
That gap is quoted a lot and it is worth reading carefully. It is not evidence that selling it yourself costs you $65,000. FSBO sales skew toward lower-priced and rural markets, and a meaningful share are sales to someone the seller already knew, where no marketing happened at all. What the number does tell you is that FSBO listings, as a group, are not being marketed as hard as agent listings. Marketing is the part you control, and photography is most of it.
The shot list
Aim for 20 to 30 photos. Fewer than about 15 reads as a listing with something to hide; far more than 30 and buyers stop scrolling. Shoot in this order:
- The exterior front, straight on or at a slight angle, taken from across the street so the whole house fits without tilting the camera up.
- The main living space, from two opposite corners.
- The kitchen, from the entry and from the opposite corner, one wide and one closer on the counters and range.
- The dining area, including how it connects to the kitchen or living room.
- Every bedroom, primary first, each with the full bed in frame.
- Every bathroom, shot from the doorway, toilet lid down.
- Any feature that sells the house: fireplace, view, built-ins, finished basement, workshop.
- The back yard and any outdoor living space, plus a second exterior angle.
- Utility and storage if they are a selling point: laundry, garage, pantry.
Buyers care most about the living room, the primary bedroom, and the kitchen, which is also the order NAR's staging research ranks rooms by impact. Those three deserve the most attention and the most retakes. Our home staging statistics post has the full ranking if you want to prioritize further.
Shooting it with a phone
A recent phone is genuinely good enough for a listing. What separates good from bad is technique, not gear.
- Shoot mid-morning or mid-afternoon, never at midday with hard sun coming through the windows, and never after dark. Overcast is fine and often better.
- Turn on every light in the house and open every blind. Mixed light looks worse than either extreme, so if a room has a strong window, expose for the window and let the lamps fill.
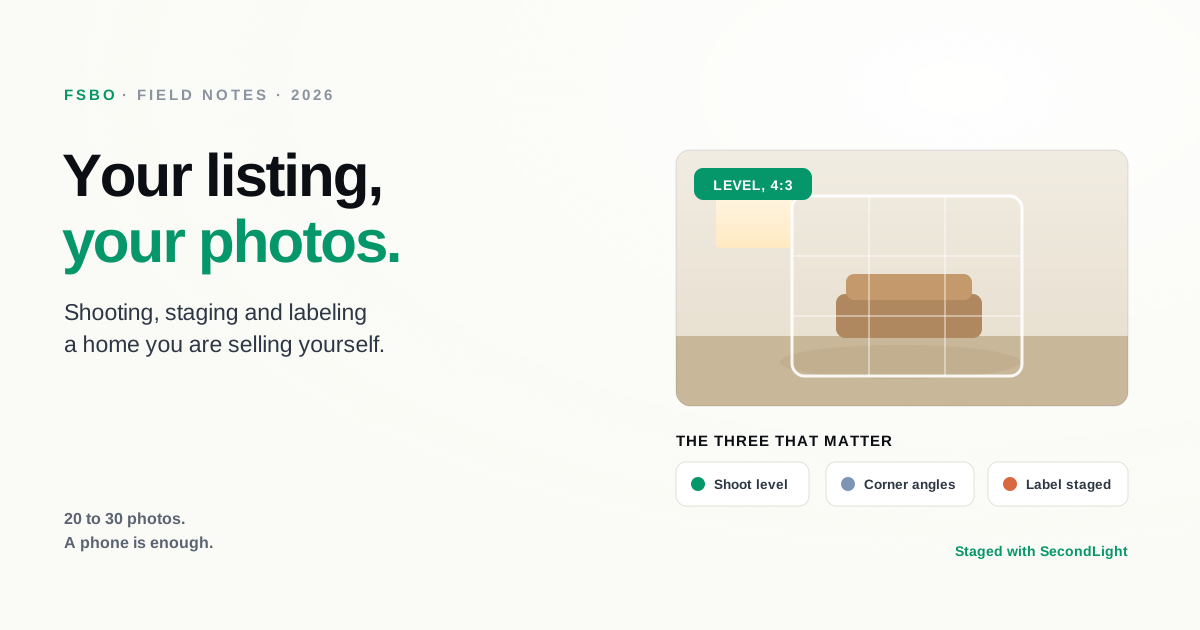
- Hold the camera at chest height and keep it level. Tilting up or down makes walls lean and instantly reads as amateur. Most phones have a level in the camera settings. Use it.
- Shoot from corners, not from the middle of a wall. Corners show two walls and give the room its depth.
- Use the main lens, not the ultra-wide, unless the room is genuinely too tight. Ultra-wide distorts the edges and oversells the size, which buyers notice when they walk in.
- Take five of every shot and pick later. Retaking a room after everyone has left is much more expensive than taking four extra frames.
Before any of that, physically declutter. Clear counters completely, remove personal photos, take the bins and the pet bowls out of frame, and park cars away from the front of the house. No amount of editing beats an actually tidy room, and the tidying is free.
Where virtual staging helps a FSBO listing
Most FSBO sellers are still living in the house, which makes staging a different problem than it is for an agent with a vacant listing. Three situations where it earns its place:
You have already moved out. An empty room is the hardest thing to sell, because buyers consistently misjudge scale in an empty space and the photos give them nothing to hold on to. This is the core case for virtual staging: the room gets furniture, the buyer gets a sense of size, and you rent nothing.
Your furniture is dated or oversized. You do not have to like this, but the furniture in the photos is being judged along with the house. If the sofa is enormous or the room is crowded, decluttering the photo to strip it back and restaging it shows the room rather than your things.
One room is doing you damage. A spare bedroom used for storage, a home gym in what should read as a bedroom, a dining room being used as an office. Restaging that one room to its intended purpose is often the single highest-value edit in the set.
What virtual staging cannot do is fix a bad photo. Staging a dark, tilted, cluttered shot gives you a staged bad photo. Get the capture right first, then stage.
If you are testing whether it is worth it at all, run one room through a free trial before paying for anything. Our free virtual staging post covers what the free routes get you and where they stop being useful.
Disclosure is not optional, and it is on you
If a photo is virtually staged, it has to be labeled as virtually staged. Agents have a broker and an MLS reminding them of this. As a FSBO seller you are the compliance department, so build it into your process:
- Label the image itself. A caption is the weakest form of disclosure because captions and remarks routinely drop when a listing syndicates out to portals. A watermark baked into the photo survives the trip. We compared the five labeling methods if you want the reasoning.
- Never edit the structure. Adding furniture is staging. Removing a support column, widening a window, or erasing a crack in a wall is misrepresentation, and the rules do not care that you did it yourself.
- Check your state and your listing service. Rules vary, and flat-fee MLS entry usually puts you under that MLS's photo rules. Our disclosure rules guide covers the general shape of it.
Before you upload
- Photos are landscape, not portrait, and at least 1024 pixels wide for portals, higher for MLS. See the resolution guide for the specifics.
- The hero photo is the best exterior or the best living space, never a bathroom or a hallway.
- Rooms appear in the order a visitor would walk through them.
- Every staged photo carries its label.
- No people, no pets, no reflections of you in mirrors or windows.
- Nothing in frame identifies the address in a way you do not want public.
The bottom line
The photo set is the highest-leverage thing a FSBO seller controls. Shoot in good light, hold the camera level, shoot from corners, and physically tidy before you touch a single edit. Use virtual staging where the room genuinely needs it, mostly empty rooms and rooms being used for the wrong thing, and label every staged image on the image itself.
SecondLight stages a room in seconds from a phone photo, keeps the architecture untouched, and can stamp the disclosure straight onto the image. Try it on one room and see how the listing looks.
About
Written by SecondLight Team. Issue Nº 025 of Field Notes.
Read next
Back to archive
All Field Notes