
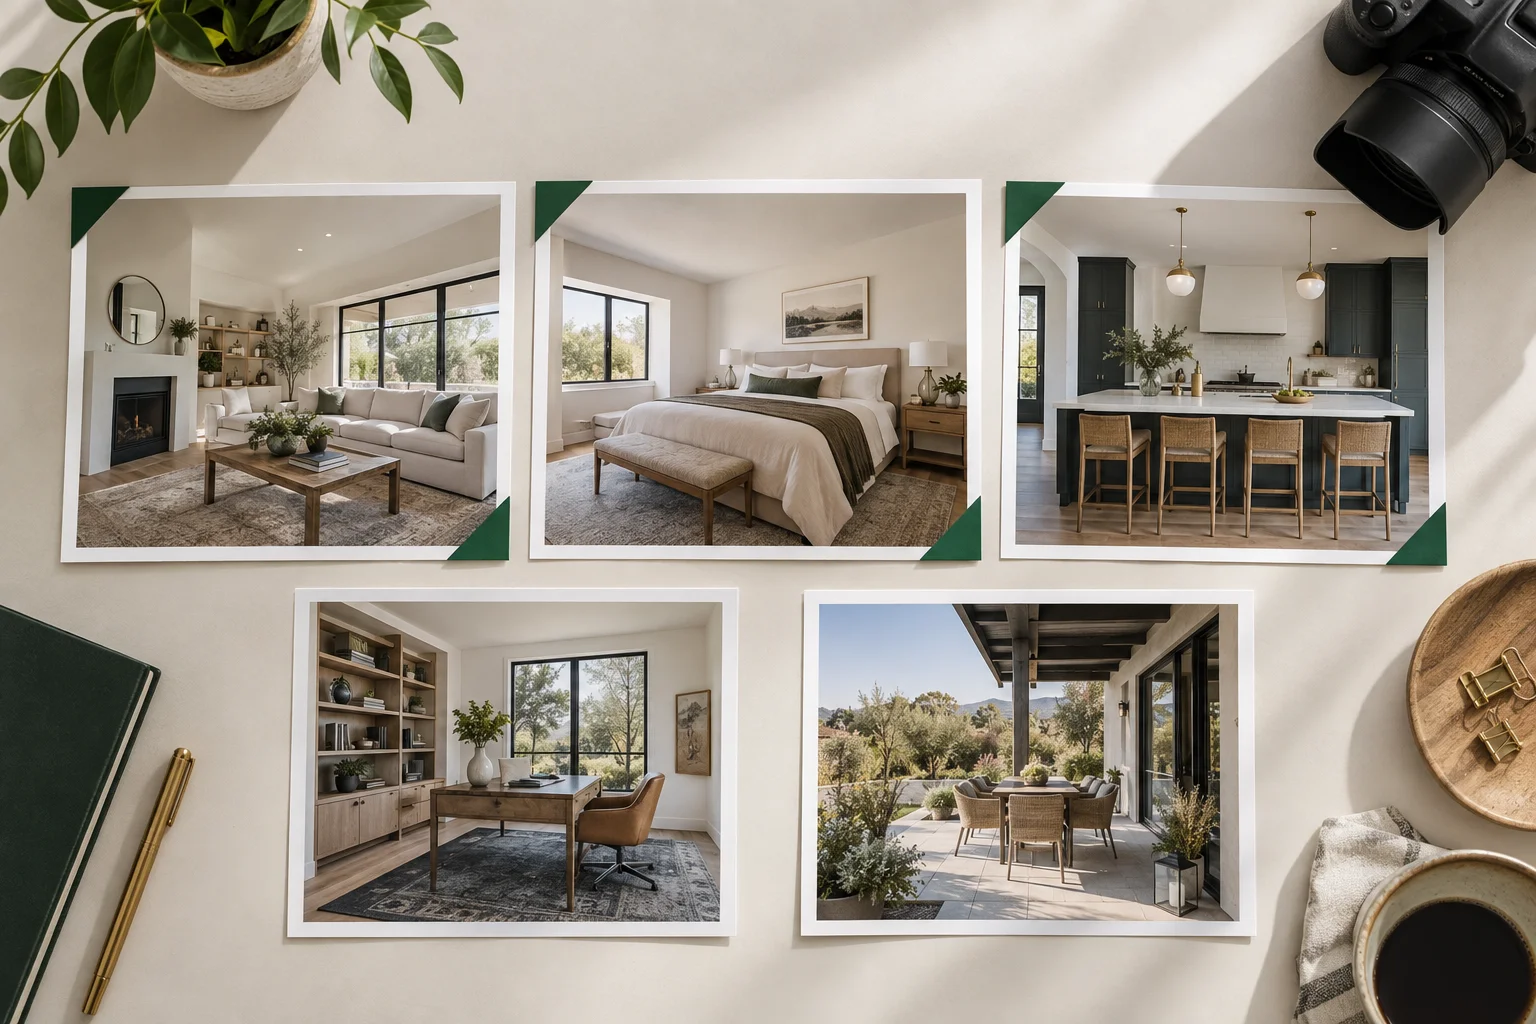
For most listings, three to five virtually staged photos is enough. Start with the living room, primary bedroom, and kitchen. Add a dining area, second angle, flex room, or outdoor space only when it helps buyers understand the property.
Use that as a starting point, not a quota. An empty studio may need only two strong images. A large vacant home with a great room, separate dining room, office, and usable outdoor living may justify more. Stage the photos where buyers cannot picture the room's scale or purpose.
In the National Association of REALTORS®' 2025 Profile of Home Staging, buyers' agents ranked the living room, primary bedroom, and kitchen as the most important rooms to stage. Start there, then use the guide below to decide whether the listing needs more.
Stage the photos that answer a buyer's question
Stage an otherwise good photo when it leaves a practical question unanswered:
- What fits here? An empty living room or primary bedroom hides scale. A correctly sized sofa, bed, rug, or dining table gives the room a ruler.
- What is this space for? A loft, bonus room, alcove, or spare bedroom used for storage needs a clear, credible purpose.
- How do the key spaces connect? An open kitchen, dining, and living area may need staging to show zones and circulation rather than one large blank floor.
- Why is this feature valuable? A covered patio, roof deck, fireplace nook, or view-facing balcony can be worth staging if it is a genuine selling point.
Do not stage a photo merely because it is empty. Hallways, standard bathrooms, laundry rooms, and obvious utility spaces usually read clearly without furniture. Clean, well-lit originals are more useful there than decor added for its own sake.
Room-by-room priority
| Priority | Stage this room when | What the image should prove | Usually skip when |
|---|---|---|---|
| 1. Living room or great room | It is empty, unusually shaped, or the main arrival space | Seating scale, focal point, and the room's role as the home’s social center | The room is already furnished simply and photographs well |
| 2. Primary bedroom | It is vacant, oversized, narrow, or has an awkward corner | A realistic bed layout and usable circulation | The existing setup already shows a full bed and clear proportions |
| 3. Kitchen | It is very bare, has a large island, or connects to an open plan | How people gather, dine, or move around the island—without altering fixed finishes | Counter styling or a few stools would add nothing to an already legible kitchen |
| 4. Dining area | It is separate, part of a large great room, or its function is unclear | That a table fits and how the area relates to the kitchen or living room | It duplicates a stronger open-plan image without adding new information |
| 5. Flexible room, office, or bonus space | Buyers could reasonably mistake it for storage or a dead-end room | One plausible use, such as an office, guest room, or reading nook | The intended use is obvious from the original photo |
| 6. Patio, deck, or balcony | It is private, roomy, view-oriented, or central to the listing's lifestyle | Seating scale and the outdoor-living potential | It is too small, has no usable footprint, or is not a meaningful differentiator |
| 7. Secondary bedrooms and utility rooms | They have a feature or a layout problem the original cannot explain | A specific function or a selling feature | They are ordinary rooms that buyers can understand on their own |
Start with the first three rows. NAR's 2025 data puts the living room first, followed closely by the primary bedroom and then the kitchen. That does not mean every kitchen needs virtual furniture. In a finished kitchen, restrained styling is often more honest and effective than making it look like a different room. For context behind those rankings, see our home staging statistics.
A practical image budget by property size
Treat these as production ranges, not a rule imposed by an MLS or a research study. Add an image when it answers a new buyer question; remove one when it repeats the same answer.
| Property and listing shape | Practical starting range | Suggested allocation |
|---|---|---|
| Studio or compact one-bedroom | 2–4 photos | Main living/sleeping zone, kitchen or dining, and one second angle only if it reveals a different usable area |
| Typical two- or three-bedroom home | 3–6 photos | Living room, primary bedroom, kitchen, then dining area, flexible room, or outdoor feature |
| Larger family home | 5–8 photos | The core three, plus separate dining, office/bonus room, family room, and meaningful outdoor living |
| Luxury, architect-designed, or multi-structure property | 6–10 photos | Stage the distinct lifestyle zones and signature spaces; do not fill the count with ordinary secondary rooms |
A long gallery does not need a long set of staged photos. Staging 20 images in a 30-image gallery can feel overproduced and make the real structure harder to assess. A five-photo gallery may need only two staged images if they show the living area and primary bedroom. Base the count on the property, not the gallery total.
When one room deserves two staged angles
Two angles of the same hero room can be more valuable than two unrelated rooms when the space is open-plan, has a fireplace or view, or needs both a wide overview and a closer functional view. One angle might establish the living area; the second can show that the dining table fits without blocking the kitchen path.
Only do this if the two photos genuinely show different information. Repeating nearly identical shots burns an image slot and makes a listing feel padded.
Keep the furnishings consistent across both angles. A sofa, rug, artwork, and dining set should appear in the same place and style whenever they are visible from the other camera position. Do not show a sectional in one angle and two armchairs in the same corner in another. Buyers notice.
For a full listing, choose one style and furniture density, stage the selected images, then review them in gallery order. Batch staging can keep the look aligned, but compare every result with its original and adjacent images before delivery.
Use staging to clarify, never to invent
Virtual staging should show buyers a credible way to use the room they will actually visit. It can add furniture, rugs, art, and light decor; it should not move walls, hide damage, change cabinetry, erase a neighboring building, or imply a view or feature the property does not have.
Kitchens, balconies, and flex rooms are easy to over-edit. Style a kitchen without changing its counters, appliances, or cabinetry. Furnish a narrow balcony without making it look wider. Declutter a flex room without hiding a defect. For occupied rooms, start with a clean capture where possible and use AI decluttering only when it leaves the real room intact.
Clearly label every staged image and keep the original available. NAR's Code of Ethics requires REALTORS® to present a true picture in advertising; your MLS or state may add more specific rules. Our virtual-staging disclosure guide covers labeling and original-file handling.
A five-minute selection workflow
Before uploading anything, make a pass through the shoot in this order:
- Mark the three core rooms: living room, primary bedroom, and kitchen.
- Circle only the unclear spaces: large open plans, flexible rooms, and distinctive outdoor areas.
- Choose the strongest angle of each room. Prefer a level, bright photo that shows two walls and the floor; staging cannot rescue a distorted or poorly lit capture. Our empty-room photography guide explains what to look for.
- Add a second angle only where it tells a different story. Keep the staging continuous between angles of the same room.
- Generate, compare, and label. Check that the room's architecture, view, finishes, and proportions remain untouched; then retain the original alongside the disclosed staged version.
In SecondLight, upload the chosen photos, set the actual room type, choose a style and density that fit the property, and review the results together before download. AI staging is most useful when it makes a small group of listing photos easier to understand.
A good starting point
Begin with three staged images: the living room, primary bedroom, and kitchen. Add one or two only where a buyer needs help understanding an open plan, flexible room, or real outdoor feature. Then stop. A focused set of truthful, consistent staged photos is more useful than staging every vacant corner.
To test the approach, stage one hero room first, compare it with the original in listing order, and see which SecondLight plan fits before committing to the rest of the shoot.
Sources
- National Association of REALTORS®, 2025 Profile of Home Staging — buyer-agent room priorities and commonly staged rooms.
- National Association of REALTORS®, Preparing and Staging a House for Sale — summary infographic for the 2025 profile.
- National Association of REALTORS®, 2026 Code of Ethics and Standards of Practice — the obligation to present a true picture in advertising.
The property-size image ranges in this guide are SecondLight editorial workflow recommendations, current as of September 16, 2026; they are not findings from the NAR survey or a substitute for local MLS rules.
About
Written by SecondLight Team. Issue Nº 030 of Field Notes.
Read next
Back to archive
All Field Notes